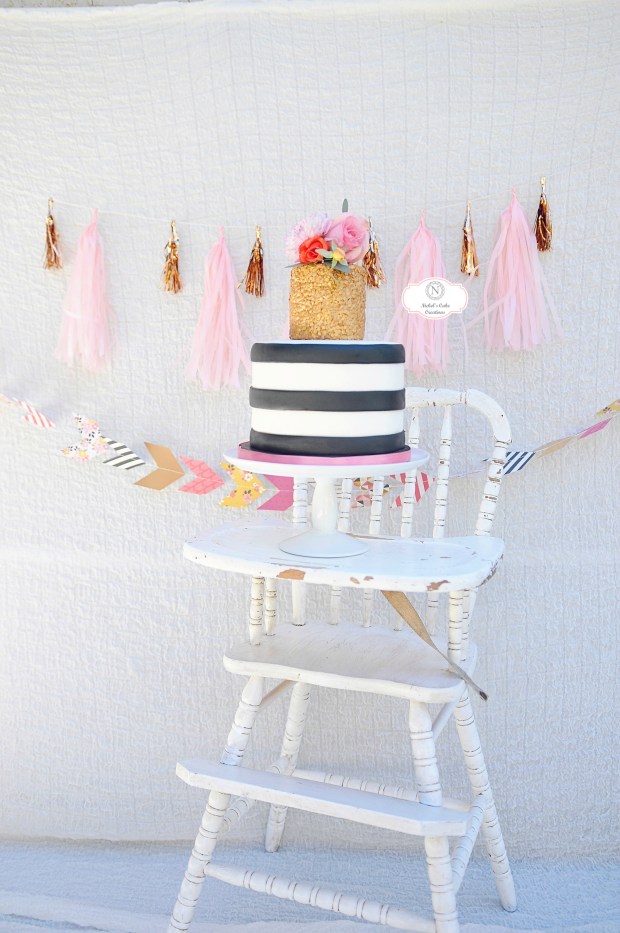
 Isn’t this cake simply breathtakingly elegant! I almost don’t want to ever eat it and, let’s face it, it’s stunning! – Honestly, though, where’s the fun in that? I’m a cake lover (and eater), so tasting this beauty is a must!
Let’s get onto the real subject of this blog post…How does one achieve this gold confetti look? It’s really quite simple, though if you’re short on time, maybe picking something else might be more desirable in your case.
So it’s simply a series of simple steps repeated…And all you need is as follows…
-One covered & smoothed buttercream cake that has been recently taken out of the freezer (showed you have to do this in my last blog post).
-1 pound of confetti sprinkles for a 4 inch round cake (I highly suggest light pastel colored confetti!-I was unlucky because the cake shop was out of pastel at the time! And I say 1 lb for an 4 inch because I personally like a lot of extra sprinkles to help evenly cover my cakes fast).
-Gold Luster dust of your choice (I personally like Linnea’s Lustre Dust – Pharaoh’s Gold or something like Wilton’s Gold Luster).
-Clear piping gel
-Small amount of vodka
-One large, one medium and on small size brush of choice
![]()
So basically (sorry for a lack of pictures, I was thinking of videos in the future!) what you do, once you take out your nice hard buttercream cake, is take a light amount of clear piping gel on your large brush. You then slowly, making sure to be even with your amounts all over the cake, brush the clear piping gel all over the cake.
Once completely covered in gel, you take handfuls of confetti sprinkles and start to lightly apply pressure to the sides and top of the cake. Note – You might have to go back and add little bits of gel and sprinkles to areas that didn’t take the first time with a small brush. This is totally okay! Happens to me even! Once you’re happy with the coverage put the cake back into the freezer for another 10-15 minutes.
While the cake is firming up again in the freezer, you can start to mix your Luster Dust and vodka in a resealable small bowl. PLEASE PLEASE PLEASE be sure to add the vodka slowly! ( I use a kids dropper I have to add some slowly at a time as I mix) You don’t want to add too much vodka because it can cause your gold to be too watery. You want a thicker gold that will give you great coverage and not be see-through!
This is the long part…Once you get your ideal gold mixture, begin to apply it to your cold cake with
Once you get your ideal gold mixture, begin to apply it to your cold cake with your medium size brush. Try to do one quick coat at first (then seal up your gold mixture), and set in the fridge (not freezer) for several hours or until it’s dry and not tacky!
Then, repeat and repeat and repeat… until you have it completely covered.
Note – that towards the end, you will need to take a small brush to get into some cracks that weren’t covered completely (And trust me there will be spots!)
Hint: when covering with gold, do it in an area that has good natural bright lighting because it helps you see all the areas needing attention!
I really hope this helped you out and you enjoyed the Blog! I know I enjoyed writing it!
Till next time!
 Photo Credit to Tiffany Nicole Photography
Event Planning Credit to Smash Cake SoCal
